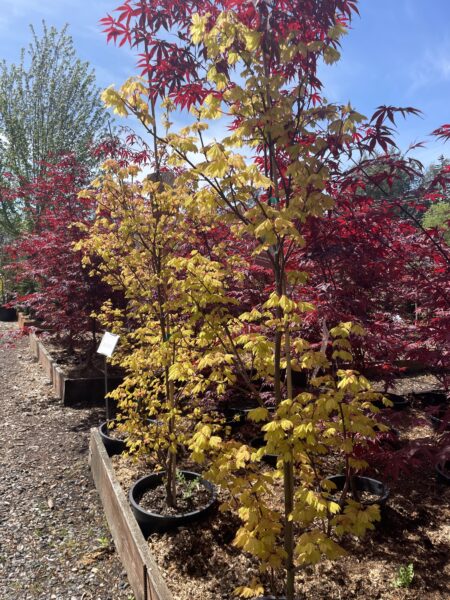
Evergreens, Shade, Flowering and Fruit Trees.
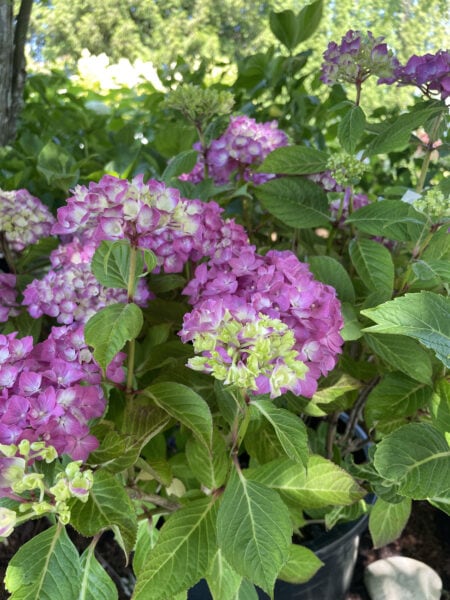
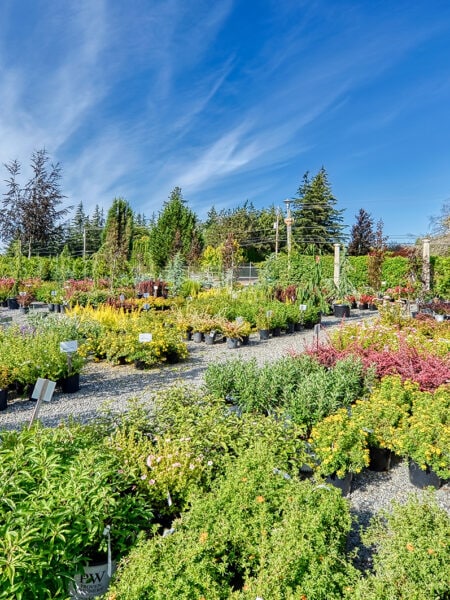
Deciduous, Evergreen and Flowering shrubs.
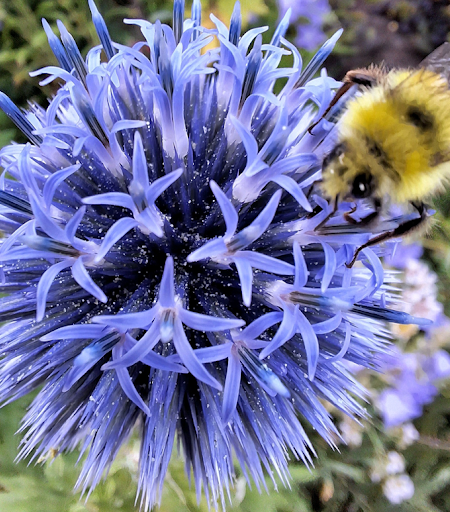
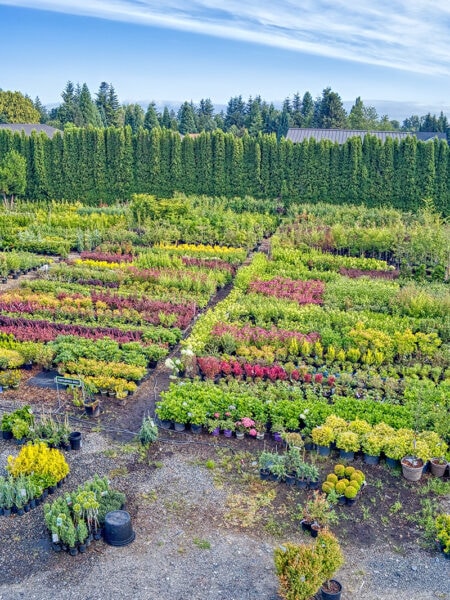
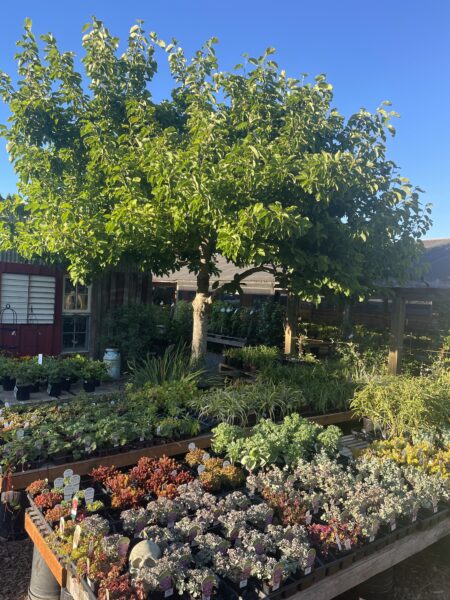
Plants that will keep your garden colorful and come back year after year.
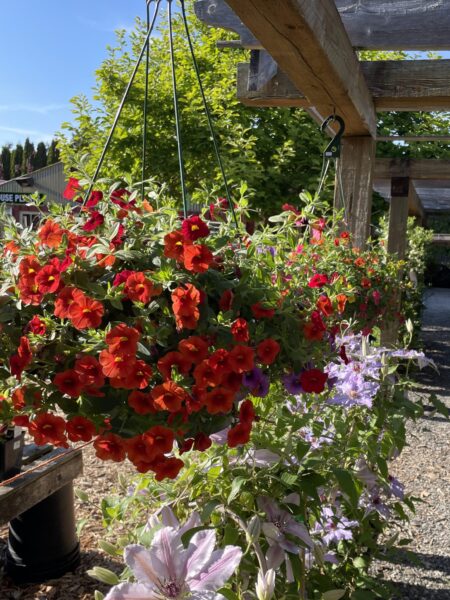
Perfect for adding a quick splash of color.
Grow your own herbs, vegetables and fruits.
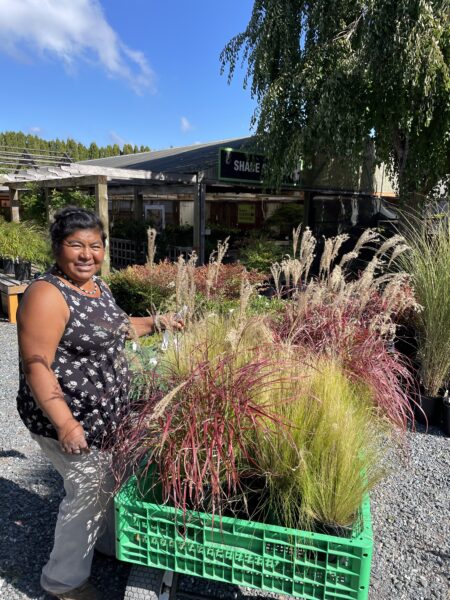
Ornamental grasses to enhance your landscape and dance in the wind.
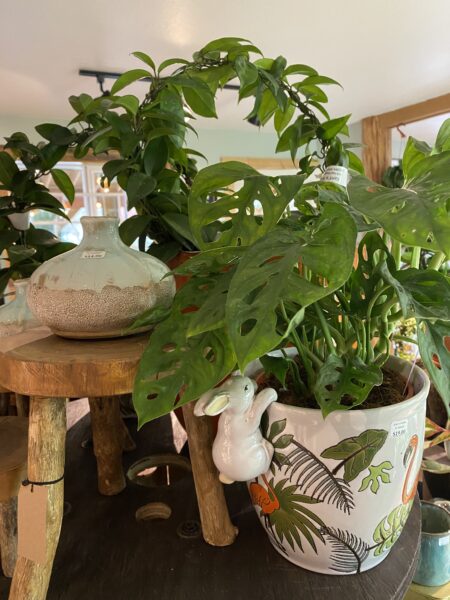
We have Houseplants.
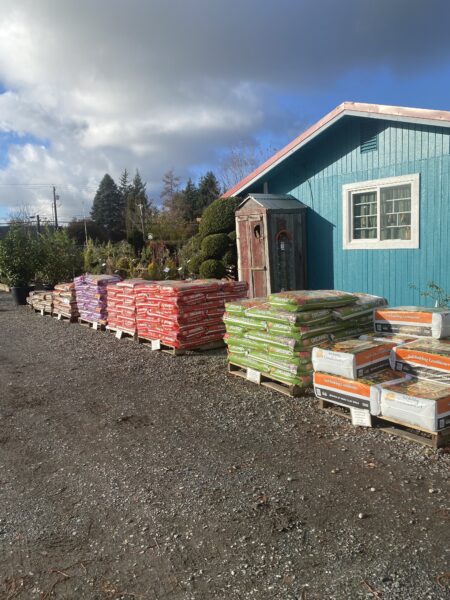
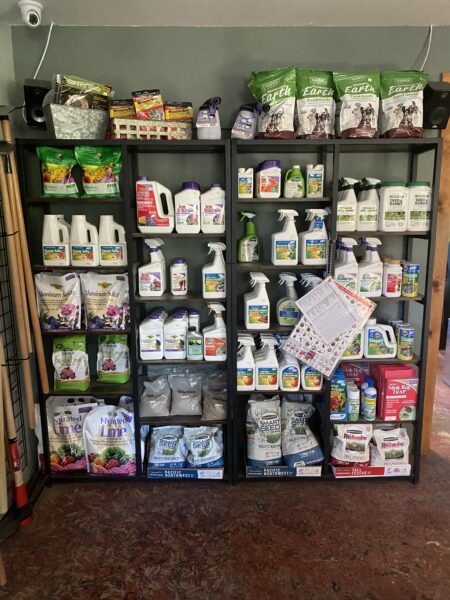
High-quality soils for every type of plant.
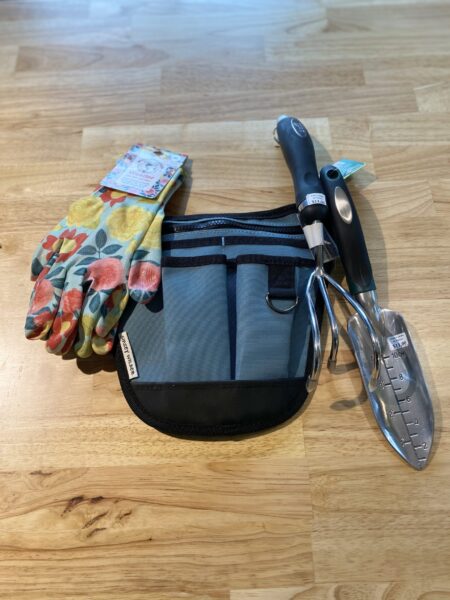
Everything you need for planting and maintenance.
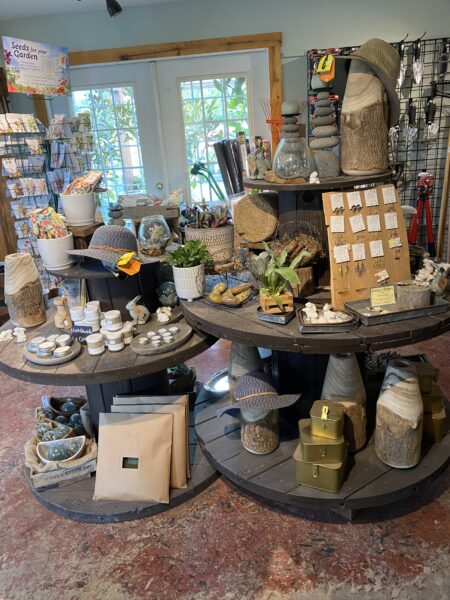
Unique garden-themed gifts for the plant lovers in your life.
Organic and synthetic options for all your nutritional needs.
Support local ecology with plants native to the area.
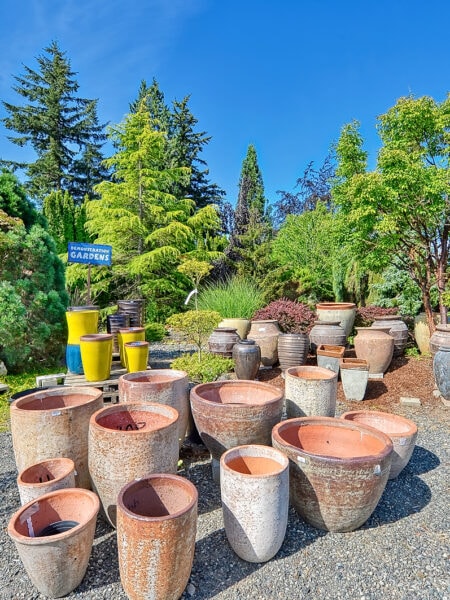
A wide range of sizes and styles both indoor and outdoor.
Keep your soil healthy and your garden beautiful while reducing weeds.
Create natural boundaries and privacy.